Air Temperature Sensor
This post explains how to add a new air temperature sensor to the Micropython Sniffs Framework (MSF).
Hardware specifications for the temperature sensor: MCP9808.
Set Up the Temperature Sensor
Start with a fresh project:
msf new mcp9808-sensor
cd mcp9808-sensor
Note: Remember to update
mqtt_as.json.
I chose the MCP9808 because I've used this chip before. Below is the driver code for the sensor. Create a new file called mcp9808.py and add the following:
from machine import Pin, I2C
import struct

def get_temp() -> float:
    i2c = I2C(
        1,
        scl=Pin(3),  # I2C1 SCL (GP3)
        sda=Pin(2),  # I2C1 SDA (GP2)
        freq=10000,
    )
    chip_address = 0x18
    step_size = 0.0625
    temp_reg = 0x05

    # Setup the sensor
    value = i2c.readfrom_mem(chip_address, temp_reg, 2)
    temp = struct.unpack_from(">H", value)[0] & 0x1FFF

    # -128 to +128C (i.e. plenty of resolution)
    if temp & 0x1000:
        temp = -(temp & 0x0FFF)
    else:
        temp = temp & 0x0FFF

    temp = temp * step_size
    return temp
Hardware Setup
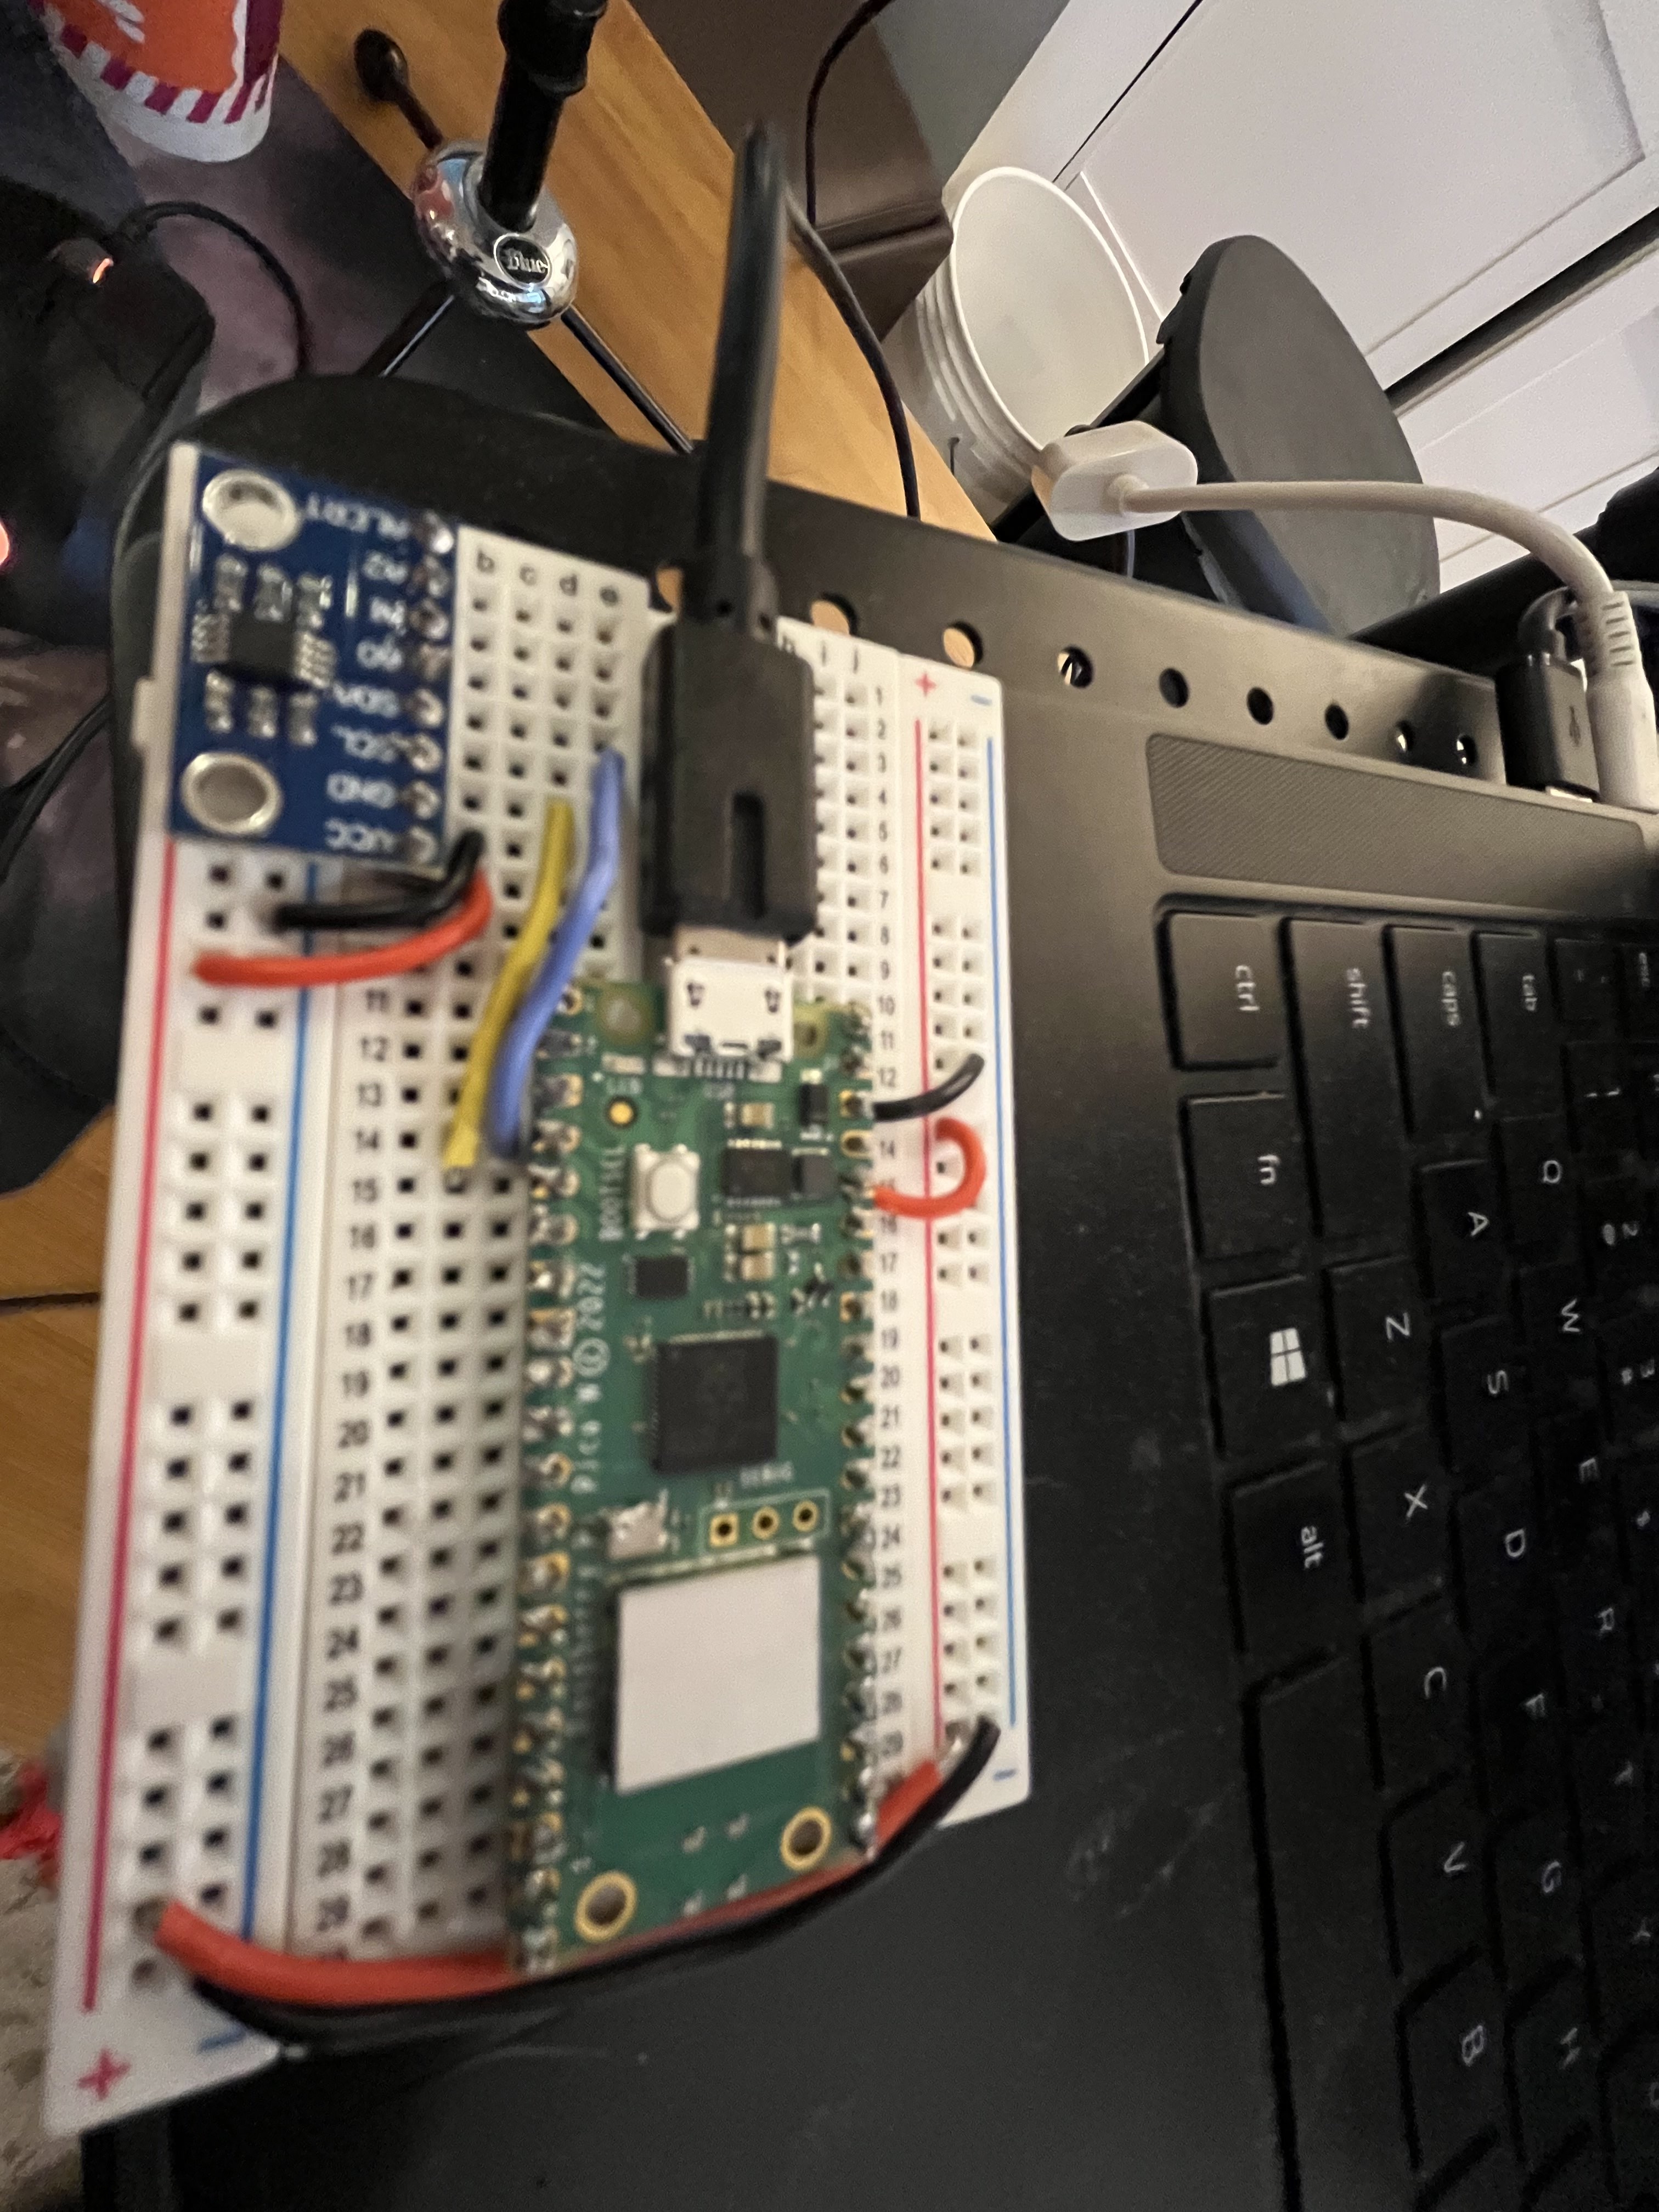
The GPIO pins are connected as follows:
- SDA: GP2
- SCL: GP3
- Power: 3.3V (3v3_OUT on the Pico)

Testing the Sensor
Verify that everything is working:
- Mount the current root directory to the device and enter the REPL:
mpremote mount .
- In the REPL:
from mp9808 import get_temp
my_temp = get_temp()
print(my_temp)
You should see the current temperature in Celsius. For instance, I got 24.9375 during testing.
Set Up the LocalSensor
MSF supports two types of sensors: LocalSensor and RemoteSensor.
LocalSensor: Provides sensor readings.RemoteSensor: Receives sensor readings, acting as a "virtual" sensor for cross-device communication.
Note: A
LocalSensorcan work independently without aRemoteSensor.
Update your main.py file with the following code:
import asyncio
from mcp9808 import get_temp
from msf.startup import startup
from msf.sensor import LocalSensor

mcp9808_sensor = LocalSensor(name="mcp9808")

async def main():
    await startup()
    while True:
        await mcp9808_sensor.update(get_temp())
        await asyncio.sleep(10)


def set_global_exception():
    """
    Debug aid. See Peter Hinch's documentation in micropython-async on github.
    https://github.com/peterhinch/micropython-async/blob/master/v3/docs/TUTORIAL.md#224-a-typical-firmware-app
    """
    def handle_exception(loop, context):
        import sys
        sys.print_exception(context["exception"])
        sys.exit()
    loop = asyncio.get_event_loop()
    loop.set_exception_handler(handle_exception)


try:
    set_global_exception()
    asyncio.run(main())
finally:
    asyncio.new_event_loop()
Run the code using mpbridge. After a soft reset, check if the device connects to the broker. Use tools like MQTT Explorer to confirm that messages are published to the test/sensors/mcp9808/value topic.
Set Up the RemoteSensor
Note: If testing on the same device, you can add the
RemoteSensorcode to the existingmain.py.
Start a new project for the remote sensor:
msf new mcp9808-remote
cd mcp9808-remote
Note: Don't forget to update
mqtt_as.json.
In the main.py file, define a RemoteSensor as the receiver:
import asyncio
from msf.startup import startup
from msf.sensor import RemoteSensor

mcp9808_remote_sensor = RemoteSensor(name="mcp9808")

@mcp9808_remote_sensor.on_update()
def on_receive_new_value(value):
    print(value)

async def main():
    await startup()
    while True:
        await asyncio.sleep(10)


def set_global_exception():
    """
    Debug aid. See Peter Hinch's documentation in micropython-async on github.
    https://github.com/peterhinch/micropython-async/blob/master/v3/docs/TUTORIAL.md#224-a-typical-firmware-app
    """
    def handle_exception(loop, context):
        import sys
        sys.print_exception(context["exception"])
        sys.exit()
    loop = asyncio.get_event_loop()
    loop.set_exception_handler(handle_exception)


try:
    set_global_exception()
    asyncio.run(main())
finally:
    asyncio.new_event_loop()
Testing the RemoteSensor
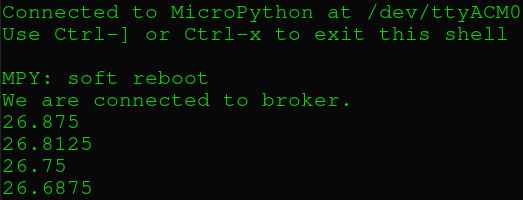
After running mpbridge dev a0 and resetting the device, you should see data being received from the LocalSensor:

Conclusion
The LocalSensor and RemoteSensor abstractions make it straightforward to integrate new sensors into your system. I hope you find this as helpful as I do!
Up Next
In the next post, we’ll set up an ePaper display to show the new temperature readings. Stay tuned!
HOME